
Last updated November 21, 2026
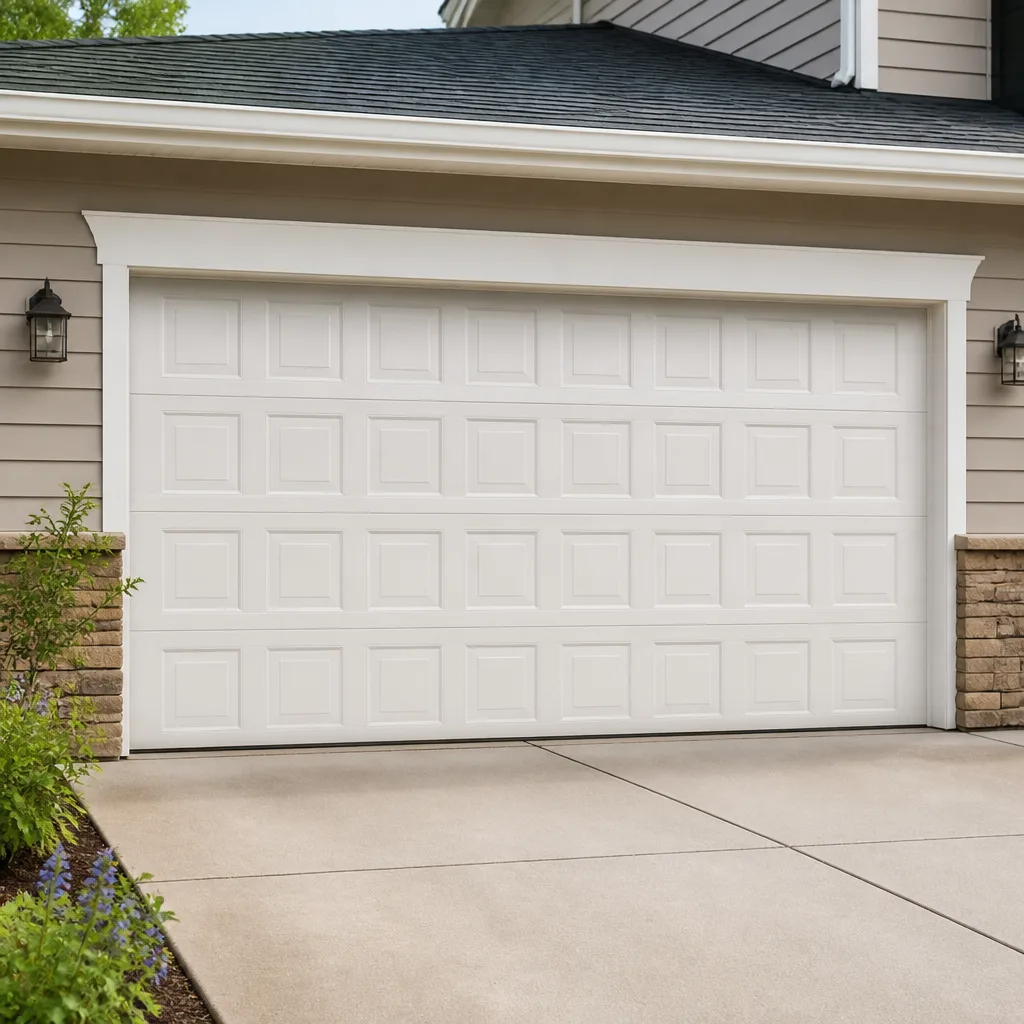 Raised-panel steel
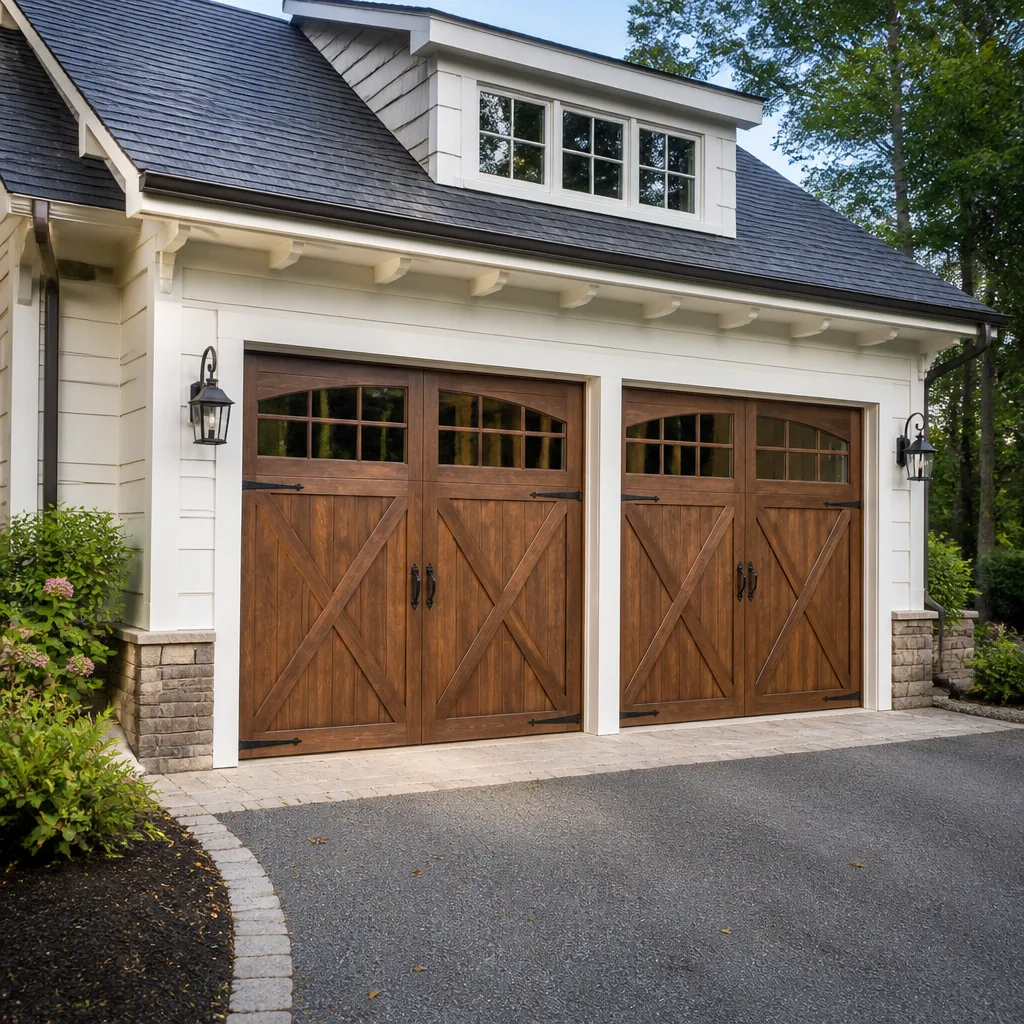 Carriage house
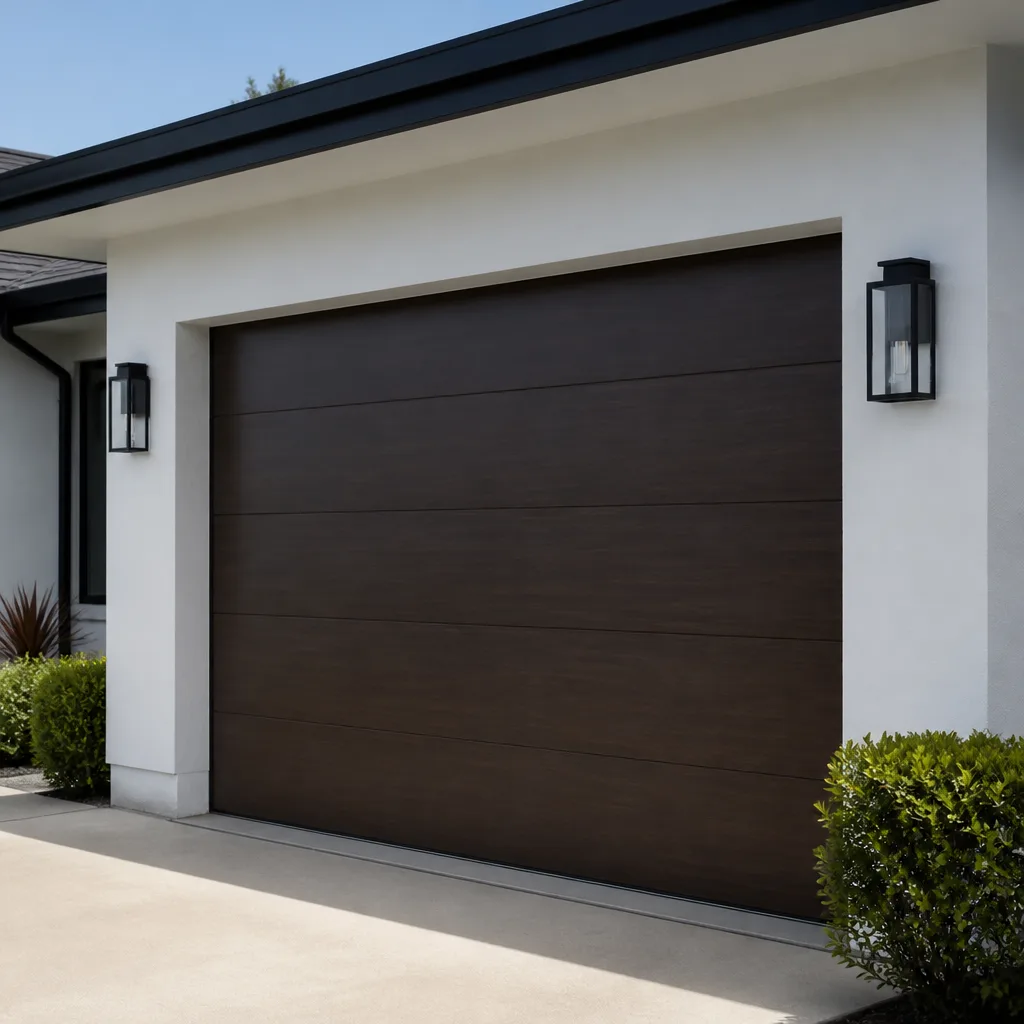 Modern flush
 Full-view glass
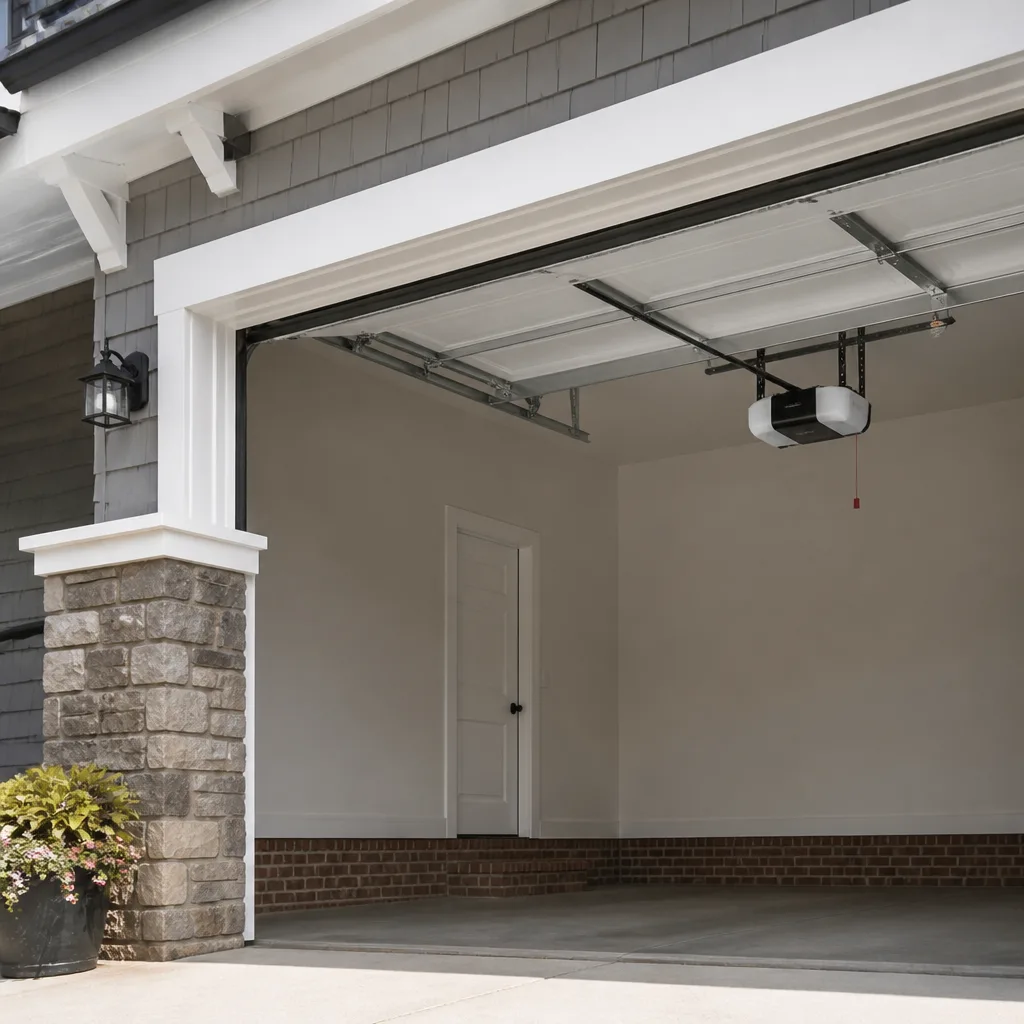 LiftMaster openers
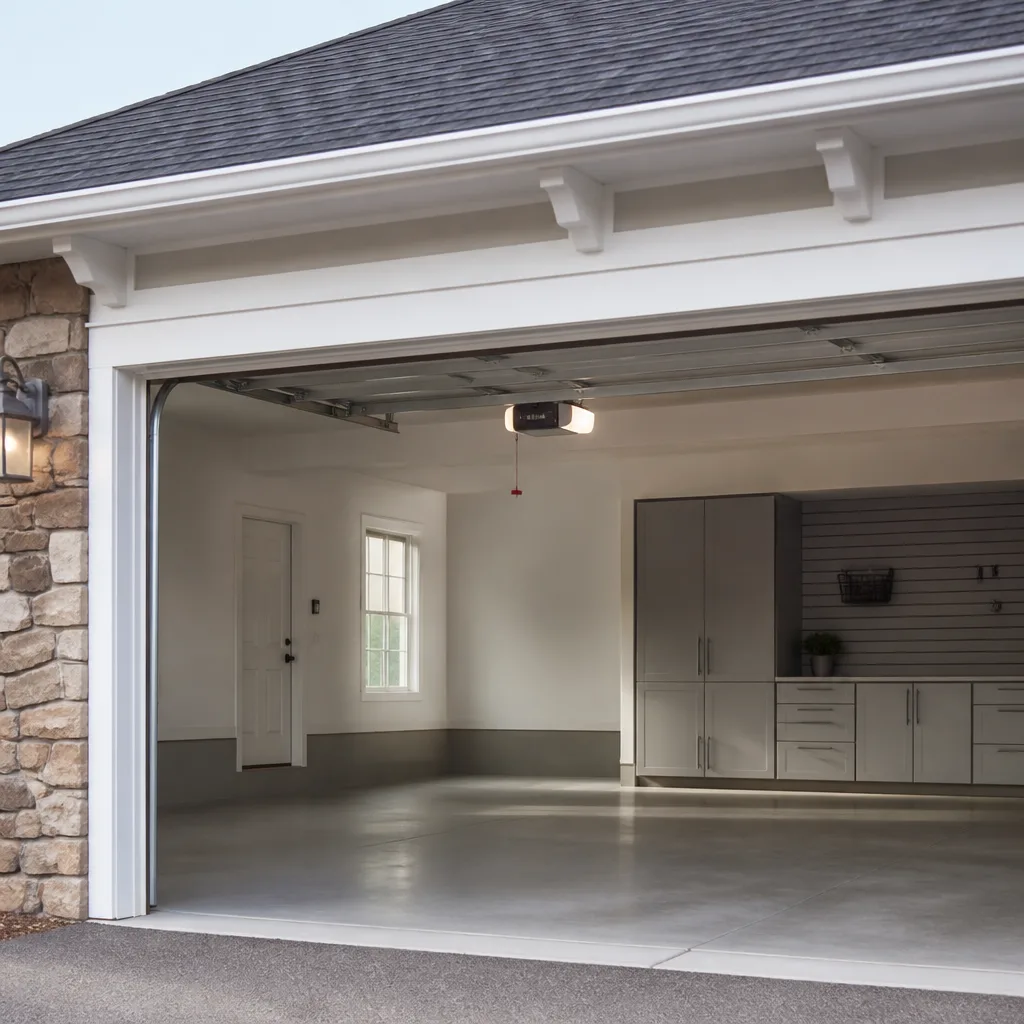 Chamberlain openers
Full 25-point door and opener safety check with every visit - springs, cables, rollers, tracks, and your LiftMaster or Chamberlain opener included
You get a price before we start. It does not change when the pro arrives.
Get your free estimateGarage Door Repair Maintenance Checklist for Springfield Homeowners
The number-one maintenance mistake Springfield homeowners make isn’t skipping lubrication. It’s lubricating the wrong parts with the wrong product and speeding up wear on the very components they were trying to protect. Spraying a thin solvent-based lubricant into openers, hinges, and rollers feels productive, but it strips factory grease and attracts grit from the road and the driveway. A checklist that only says “inspect the springs” leaves you guessing about what a failing part actually looks like, sounds like, and feels like. This guide gives you pass/fail criteria you can check yourself, names the products that belong on each component, and maps every task to Springfield’s weather calendar. Read it once, keep it, and your door will tell you what it needs before it breaks.
Styles & brands we work with
- Raised-panel steel
- Carriage house
- Modern flush
- Full-view glass
- LiftMaster openers
- Chamberlain openers
Quick Answer
A working garage door maintenance checklist for Springfield covers six things: a monthly visual and sound check of springs, cables, rollers, tracks, and panels; lubrication of hinges and rollers with a proper garage door lubricant (never WD-40 on rollers); a balance and alignment test twice a year; a weather-seal inspection before winter; a safety-reverse test every month; and a written record of what you see so a technician can spot trends. Tasks tied to spring tune-ups, cable adjustment, and torsion hardware belong with a trained specialist, because those parts are under extreme tension and cause serious injury when handled by an untrained person.
Table of Contents
- Quick Answer
- Why a Springfield Checklist Beats a Generic One
- The Monthly Walk-Around: What to Look, Listen, and Feel For
- Lubrication: Which Product Goes Where (and What Never to Spray)
- Springfield’s Seasonal Maintenance Calendar
- The Balance, Alignment, and Safety-Reverse Tests
- Documenting Condition Over Time
- The Three Tasks That Void Most Manufacturer Warranties
- Common Mistakes to Avoid
- When to Call a Professional
- Frequently Asked Questions
- The Bottom Line
Why a Springfield Checklist Beats a Generic One
Springfield’s climate does specific things to garage doors that a generic national checklist never mentions. Our winters swing hard between deep freezes and mid-thirties thaws, and every thaw pushes moisture into the wood or steel of a door panel. That moisture expands the joints, freezes again, and stresses the paint and the seams. By the time spring arrives, homeowners in neighborhoods like Forest Park and East Forest Park often find paint peeling along the bottom panel, where road slush sits longest. That’s not a cosmetic issue. Exposed steel rusts, and rusted panels are the first thing a manufacturer points to when a warranty claim lands on its desk.
Spring in the Pioneer Valley also brings pollen and grit that find their way into track curves and roller housings. Dust bonds with old grease and turns into a paste that drags on every opening cycle, which shortens roller life and can force the opener to work harder. Summer humidity then works the weather seals, drying and cracking the rubber along the bottom of the door. When fall arrives, leaves and grit collect behind the seal, and by the first hard frost, the seal has already failed. If you only check your door in April, you miss the breakdown that started in January.
The other Springfield-specific factor is the age of the housing stock. Many of the city’s older homes were built with wood-frame garage openings and doors that have long since been replaced, sometimes with a lighter door than the original framing was designed for. That mismatch shows up as sagging hinges, uneven panels, and rollers that wear faster than they should. A checklist written for a new construction door won’t flag any of that. Ours does.
The Monthly Walk-Around: What to Look, Listen, and Feel For
The monthly walk-around takes about five minutes and doesn’t require tools. It requires your eyes, your ears, and your hands. Do it with the door closed, then again with it open. You’re looking for changes from last month, not for perfection.
Springs
Look at the torsion spring (the coil running horizontally above the door, mounted to a shaft) or the extension springs (two coils running along the horizontal tracks above the door on each side). Pass: the coil is continuous, the color band on the torsion spring is intact, and the spring is not touching the shaft or sagging. Fail: any visible gap in the coil, a stretched extension spring with daylight showing between the coils, or a spring that has pulled away from its mount. A spring that fails is not something you touch. Torsion springs hold enormous tension even when the door is down, and a sudden release can cause serious injury. Mark a fail on your record and call a specialist.
Cables
Pass: the cables are taut, sit flat in their drums or pulleys, and show no frayed strands. Fail: a cable that looks like a stray thread, has an uneven wind on the drum, or hangs slack. Slack or frayed cables mean the door could come down unevenly. Don’t try to adjust them yourself.
Rollers and Hinges
Pass: rollers spin freely by hand, hinges move without grinding, and there’s no visible rust. Fail: a roller that doesn’t turn when you push it, a hinge that squeaks or sticks, or a roller housing that’s cracked. Rollers are the cheapest part to replace and the most common cause of a noisy door.
Tracks
Pass: the vertical and horizontal tracks are straight, plumb, and clear of debris. Fail: any dent, bend, or dings where a car has nudged the track. Run your hand along the inside of the vertical track (with the door open and the opener disengaged) and feel for a bump. Even a small dent catches a roller and makes the door jump or stop.
Panels and Weather Seals
Pass: panels are flat, seams line up, and the bottom rubber seal sits flat against the floor. Fail: a dented or bowed panel, a seam that has opened, or a seal with visible cracks or a gap you can see daylight through. Seal failures are the most common way a Springfield homeowner ends up with a wet garage floor and rusted hinges.
Openers and Wall Controls
Pass: the door opens and closes smoothly, the opener doesn’t strain, and the wall button works on the first press. Fail: a door that hesitates, reverses for no reason, or an opener motor that sounds labored. Any of those point to a problem that a trained technician can diagnose quickly.
Lubrication: Which Product Goes Where (and What Never to Spray)
This is where most Springfield homeowners get into trouble. The instinct is to grab the can of WD-40 in the garage and hit every moving part. On a garage door, that’s the wrong product in the wrong place. WD-40 is a solvent, not a lubricant. It thins out the factory grease packed into rollers and hinges, strips it away, and collects dust as it evaporates. Six weeks later, the roller is dry and grinding, and you’ve accelerated its wear.
The right product is a purpose-made garage door lubricant, typically a white lithium grease or a silicone-based spray. Here’s where each one goes.
- Hinges: A light shot of white lithium grease at the pivot point of each hinge. Three or four closed-door cycles afterward will work it in.
- Rollers: Silicone spray or a proper roller lubricant, applied to the bearing, not the wheel. Do not use grease here; grease collects grit and turns into a paste. Replace sealed rollers that no longer spin instead of lubricating them.
- Springs: A very light coat of lubricant on torsion springs is acceptable and helps with noise, but only if the spring is undamaged. Never use a heavy grease on a spring, and never attempt to work on a spring that has failed.
- Torsion shaft and bearing plates: A small amount of lithium grease at the bearing plate, not on the shaft itself.
- Tracks: Nothing. Tracks should stay dry. Lubricant plus grit equals a sticky track that the rollers climb over instead of rolling through.
- Opener rail and chain: Chain-drive openers use a specific chain lubricant or a dry film lubricant, depending on the manufacturer. Belt-drive openers usually need nothing. Refer to the opener manual for the brand in your garage, whether that’s LiftMaster, Chamberlain, Genie, or a Craftsman unit from years back.
- Weather seals: A silicone spray on the rubber seal at the bottom of the door helps it slide against the concrete and extends its life, especially in winter when the rubber hardens.
The result of doing this correctly is a door that sounds different: quieter, smoother, less clunking. The result of doing it wrong is a door that starts failing six weeks later. If you’re not sure which product belongs on your hinges, check the manual or ask us. We work on the brand already in your garage.
Springfield’s Seasonal Maintenance Calendar
A spring and fall checklist misses the two months that do the most damage in Springfield. Here’s what to check and when, mapped to what’s actually happening in the local weather.
January through March: The Deep Freeze Check
Cold makes metal brittle and rubber hard. Springs are at their highest risk of failure in a cold snap. Check for: a door that strains on the first cycle of the day, a bottom seal that’s cracked or riding up, and frost or ice on the threshold. Keep the bottom seal clear of snow and ice; a seal frozen to the floor will tear on the first opening.
March through May: The Thaw and Clean-Up
This is the most important window. As the ground thaws, moisture works into wood panel seams and steel joints. Check for: paint lifting along the bottom panels, rust spots at hinges and screws, and grit collected in the track curves. Clean the tracks with a dry cloth and a soft brush. This is also the time to do the spring balance test and the safety-reverse test, because the door’s mechanical balance shifts as the seals and hardware warm up.
June through August: The Humidity and Pollen Check
Summer in Springfield is humid, and hinges that were fine in May may now be tight. Check for: sluggish rollers, sticky hinges, and pollen build-up in the track. Do the lubrication pass in early June, again in late August, and no more than that. Over-lubricating is its own problem.
September through October: The Winter Prep
Before the first hard frost, check the weather seal at the bottom of the door and around the frame. Look for cracks, hardening, or a gap you can see through. Replace the bottom seal before the cold sets in. Check the tracks for leaves and grit, and check that the door still balances when you pull the release. Fall is also the best time to schedule a professional tune-up if your door is over ten years old or if you’ve noticed any of the warning signs in the monthly walk-around.
November through December: The First Freeze Check
Watch the first three cold mornings. A door that opens slower, sounds louder, or reverses for no reason on those mornings is telling you something. Do not ignore it. The parts that struggle in the cold are the parts about to fail.
The Balance, Alignment, and Safety-Reverse Tests
Three tests every Springfield homeowner should be able to run without picking up a wrench. These are pass/fail, and a fail is your signal to call a professional, not to adjust anything.
The Balance Test
- Close the door fully.
- Pull the emergency release cord to disconnect the opener. On most openers, this is the red pull handle hanging from the trolley.
- Lift the door by hand to about halfway.
- Let go. A balanced door holds its position or lowers slowly. A door that drops fast, or one that rises after you let go, has a spring or balance problem.
- Reconnect the opener only after the door is back in the closed position. If the door won’t stay in place, don’t force it. Call a specialist.
The Alignment Test
With the door closed, look at the gap between the door and the frame on each side. The gap should be consistent from top to bottom. A door that’s tighter on one side is out of alignment. That’s usually a track problem. Don’t try to bend a track back into place yourself. The tolerances are tight, and a bent track is easier to replace than to straighten.
The Safety-Reverse Test
All openers made since the early 1990s have a safety-reverse feature, and you should test it monthly. The exact procedure depends on the model. With most LiftMaster, Chamberlain, and Genie openers, you place a two-by-four flat on the floor under the door’s path, close the door with the wall button, and confirm the door reverses when it contacts the board. If the door doesn’t reverse, the opener has a safety problem and should be checked by a technician before you use it again.
The other safety test is the photo-eye test. With the door open, wave an object across the light beams at the bottom of the tracks. The door should stop and reverse when the beam is broken. If it doesn’t, check that both eyes are aligned and clean before assuming the opener is at fault. This one test prevents the majority of opener-related injuries.
Documenting Condition Over Time
A maintenance checklist that isn’t written down is a memory, not a record. The homeowner who writes down what they see each month catches trend-based failures that would otherwise surprise them. It also gives a technician something to work from beyond the current problem.
Keep a simple log with four columns: the date, the component, what you saw or heard, and the pass/fail. A note like “front left roller sticky, loud clunk when door opens” tells a technician far more than “the door is noisy.” A note like “bottom seal cracked at both corners, third month in a row” tells you it’s time to replace it, not inspect it again. And a note like “door surface dent in lower panel, no change for six months” tells a technician to leave it alone rather than replace it.
In our experience, the most useful notes are the boring ones. Keep them on a clipboard in the garage, or use a photo on your phone dated to the day. When a technician arrives in Springfield, they can look at three months of notes and see a pattern. That changes the conversation from “the door is broken, what do we do” to “the roller has been on its way out since March.”
The Three Tasks That Void Most Manufacturer Warranties
Manufacturers of Amarr, Wayne Dalton, Clopay, and Raynor doors build their warranties around one expectation: trained professionals perform the work that matters. Three tasks in particular are outside what a homeowner should attempt, and doing them yourself is the surest way to void a warranty and put yourself at risk.
1. Torsion Spring Replacement or Adjustment
A torsion spring stores enough energy to seriously injure a person even when the door is down. The spring is under tension, and the winding bars and winding procedure require training. Manufacturers specify that spring work be done by a qualified garage door technician, and a failed spring due to improper workmanship is rarely a warranty item. We treat spring repair as an explicit specialty, and there’s a reason for that.
2. Cable Adjustment or Replacement
Cables run under tension and connect the door to the springs. A cable that releases suddenly can whip through the garage and cause serious injury. Cable work requires proper winding and tensioning, which is not a homeowner skill.
3. Opener Installation and Wiring
Replacing an opener involves electrical connections to the home’s wiring and mechanical mounting to the door and ceiling. The manufacturer’s warranty expects a professional install. Get this wrong and you’re not just looking at an opener that doesn’t work. You’re looking at a warranty that doesn’t apply. Our garage door opener repair team handles these installs and repairs on the brands we know best.
Anything you’re unsure about belongs in this category. Check the door’s manual for the warranty language, and when in doubt, ask a specialist before you touch the hardware.
Common Mistakes to Avoid
- Spraying WD-40 on rollers and hinges. It feels productive and makes the door quieter for a week. Then it strips the factory grease and the parts wear faster. Use a garage door lubricant, not a solvent.
- Lubricating the tracks. This is the single most common mistake in Springfield garages. Tracks should stay dry. Grease plus grit turns the track into a paste trap, and the door jumps or stops.
- Ignoring the bottom weather seal through winter. A cracked bottom seal is what lets road slush and meltwater reach the hinges and the door frame. A seal replacement before the first frost costs far less than the rust damage that follows a missed one.
- Trying to straighten a bent track. The metal is thin and the tolerances are tight. A homeowner with a pair of pliers usually makes it worse. A technician has the right tool and replacement track.
- Assuming a noisy door is just a noisy door. Grinding, clunking, or squealing is a symptom. A quiet door isn’t healthy if the balance test fails or the door reverses for no reason.
- Forgetting the safety-reverse test. This test prevents the most serious injuries a garage door can cause. It takes thirty seconds, and it should happen every month.
- Skipping the record. A checklist you never write down is a checklist that gets ignored. Springfield’s freeze-thaw cycles change your door a little every month, and only notes catch the change before it breaks something.
When to Call a Professional
Some failures need a trained garage door specialist, not a homeowner with a lubricant can. Call when: a spring has visible gaps or has pulled away from its mount, a cable is frayed or slack, the door drops fast during the balance test, a track is visibly bent or the door is tight on one side, the safety-reverse system fails a test, or the door reverses on its own during normal operation. Any of these means a part has failed in a way that can cause injury or a bigger repair if it’s pushed further.
Call sooner if the door is stuck open or down and you can’t secure the house. A garage door that won’t close is a security problem that shouldn’t wait until Monday. Springfield Garage Door Repair Co offers free estimates in Springfield, and we answer 24/7. Call (866) 558-6301 for a free estimate, and we’ll get the door back to working order or tell you exactly what it needs. For a closer look at what we handle, see our garage door repair page.
Frequently Asked Questions
A five-minute walk-around once a month, a balance and safety-reverse test twice a year, a full lubrication pass in June and again in late August, and a seal inspection before the first frost. Springfield’s freeze-thaw cycles and summer humidity both move faster than a once-a-year check, which is why monthly is the better cadence here. Call (866) 558-6301 if you want a professional tune-up to reset your baseline.
White lithium grease for hinges and a silicone-based spray or proper roller lubricant for roller bearings. Never use WD-40 on rollers; it’s a solvent and it strips the factory grease. Tracks shouldn’t be lubricated at all. If you’re not sure which product belongs on your opener’s chain or belt, check the manual or ask a technician. We can tell you what we use on LiftMaster, Chamberlain, and Genie openers specifically. Call (866) 558-6301 for a free estimate on a lubricant-and-tune-up visit.
A typical spring repair in Springfield runs roughly $180 to $340 for one spring, and a matched pair is usually replaced together for about twice that. The exact figure depends on the door and the spring type, and the written estimate sets the final price. Spring work is one of the most dangerous residential repairs, so it belongs with a trained specialist. Call (866) 558-6301 for a free estimate; estimates are free.
Yes. Rollers and hinges are the two parts a homeowner can safely replace with basic tools, provided the door is fully closed and the opener is disconnected. Do not attempt springs, cables, or opener installation. Those void most manufacturer warranties and can cause serious injury. If you’re unsure which rollers fit your Amarr or Clopay door, call (866) 558-6301 for a free estimate and a part recommendation.
Usually a misaligned or dirty photo-eye at the bottom of the tracks, or a safety-reverse system that’s out of adjustment. Sometimes it’s a travel-limit setting on the opener. Start by cleaning and checking the alignment of both photo-eyes. If the door still reverses, the opener or the travel limit needs a technician. Call (866) 558-6301 for a free estimate on a diagnostic visit.
Look for cracks along the bottom rubber, a seal that’s hard instead of flexible, or daylight showing between the seal and the floor when the door is closed. In Springfield, the seal takes the most punishment in winter, so replacing it before the first hard frost is the best timing. If you’re not sure, call (866) 558-6301 for a free estimate and a seal check.
The Bottom Line
The best garage door maintenance checklist for a Springfield homeowner is one built around this city’s specific weather, not a generic two-page handout. Check monthly, lubricate the right parts with the right product, test balance and safety-reverse twice a year, replace the bottom seal before frost, and write it all down. Those steps catch most problems before they break something expensive. For the three tasks in this guide (springs, cables, and opener installation), a trained specialist is the only safe choice. For everything else, our garage door spring repair and maintenance teams are here to help, and we work on the brand already in your garage. Call (866) 558-6301 for a free estimate. We answer 24/7, with fast dispatch from 7am to 7pm, Sunday through Friday.
If you’re starting from scratch and want a professional baseline before you begin your monthly checks, our Springfield Garage Door Repair Co team can walk you through what we see on your door specifically. Our technicians have up to 14 years of experience, and we’ve handled everything from a squeaky hinge on a Craftsman door to a full opener replacement on a Raynor system.
Written by the team at Springfield Garage Door Repair Co.
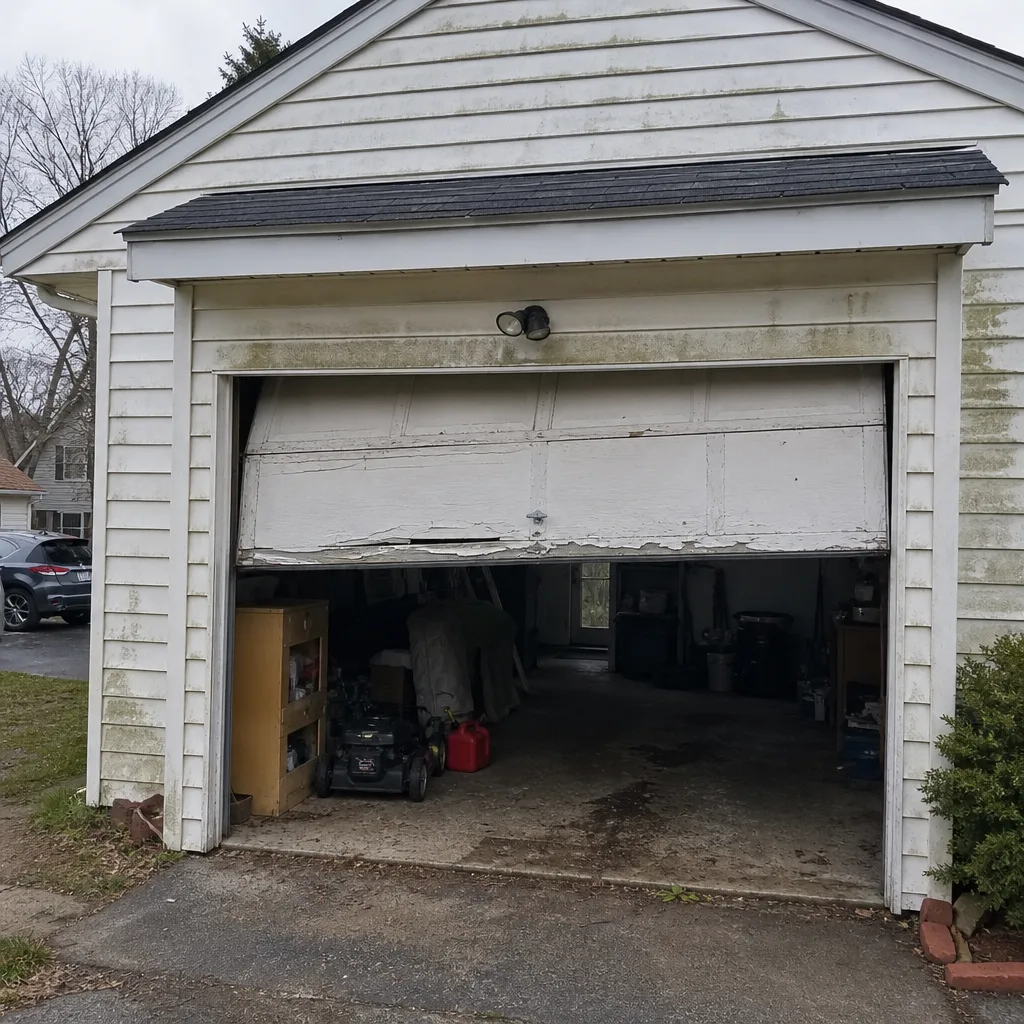
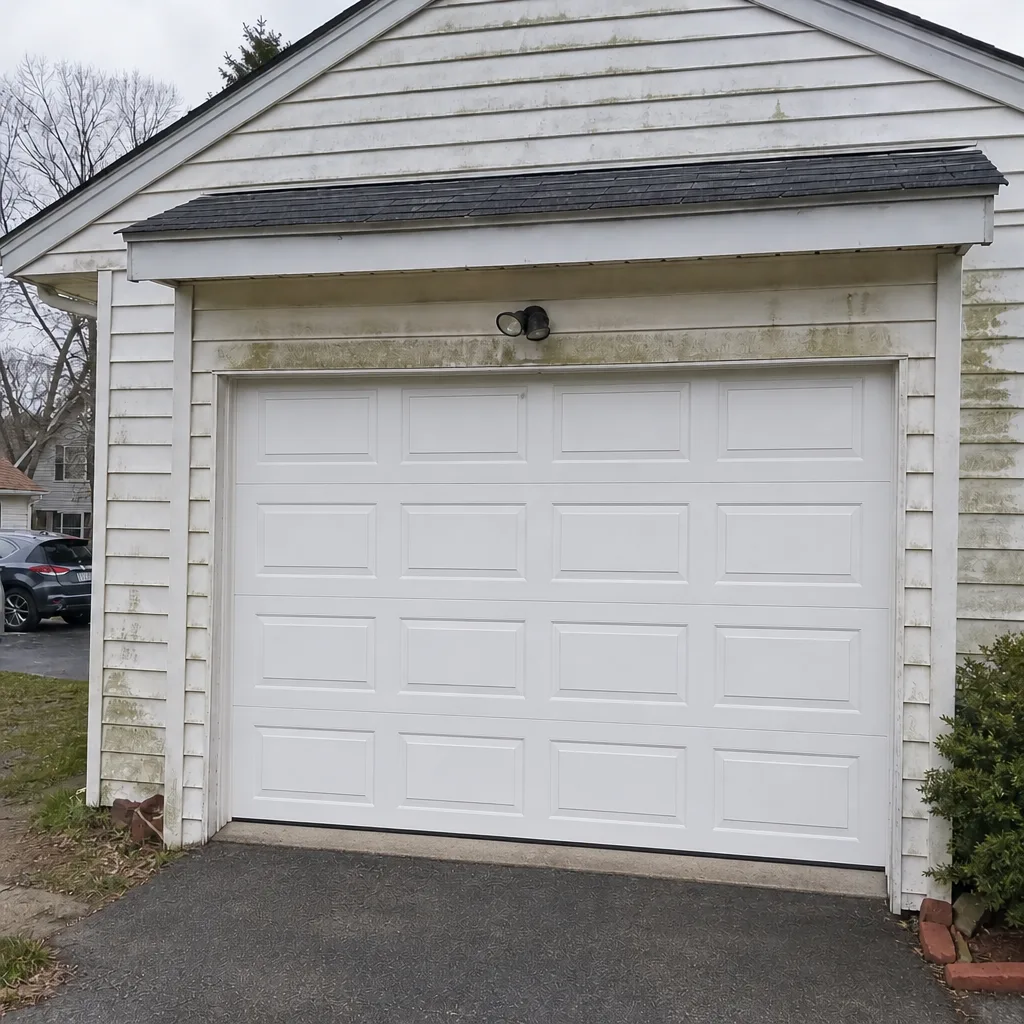
See the difference
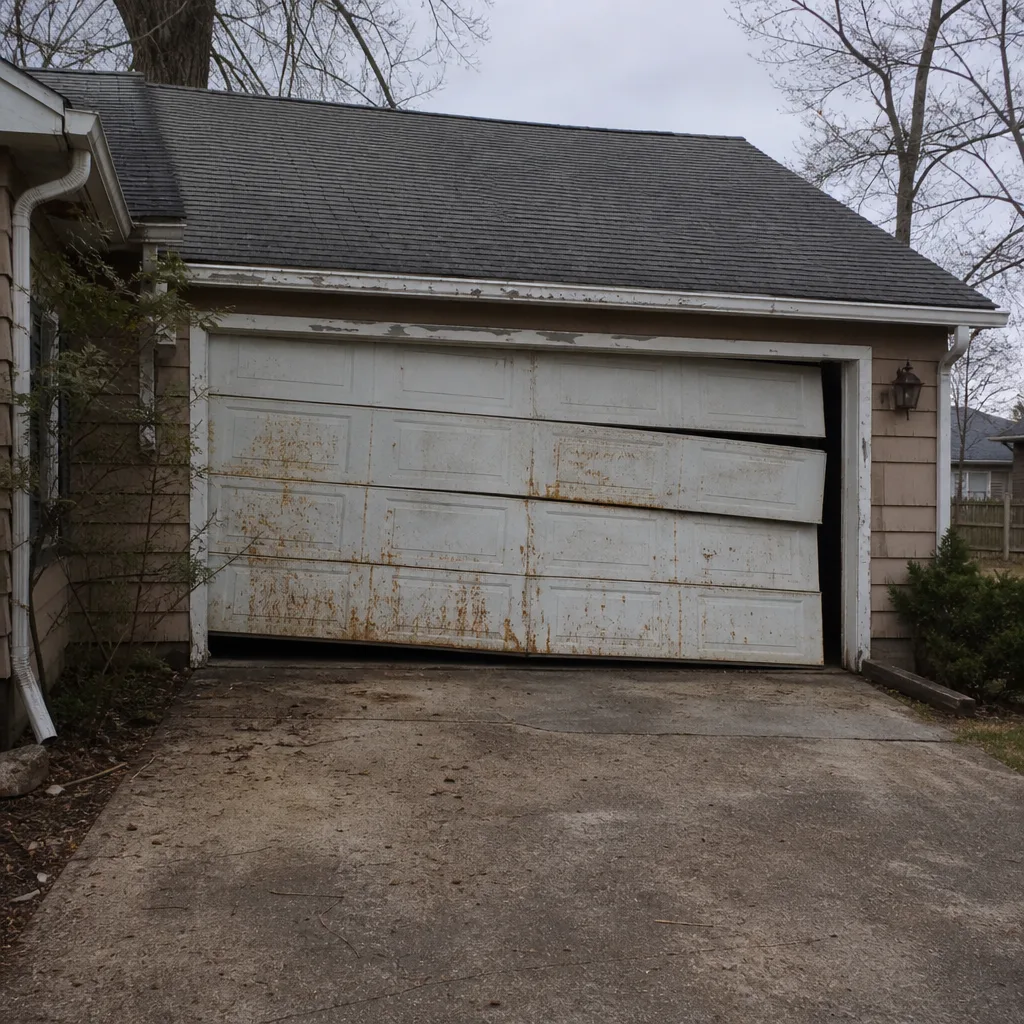 Before
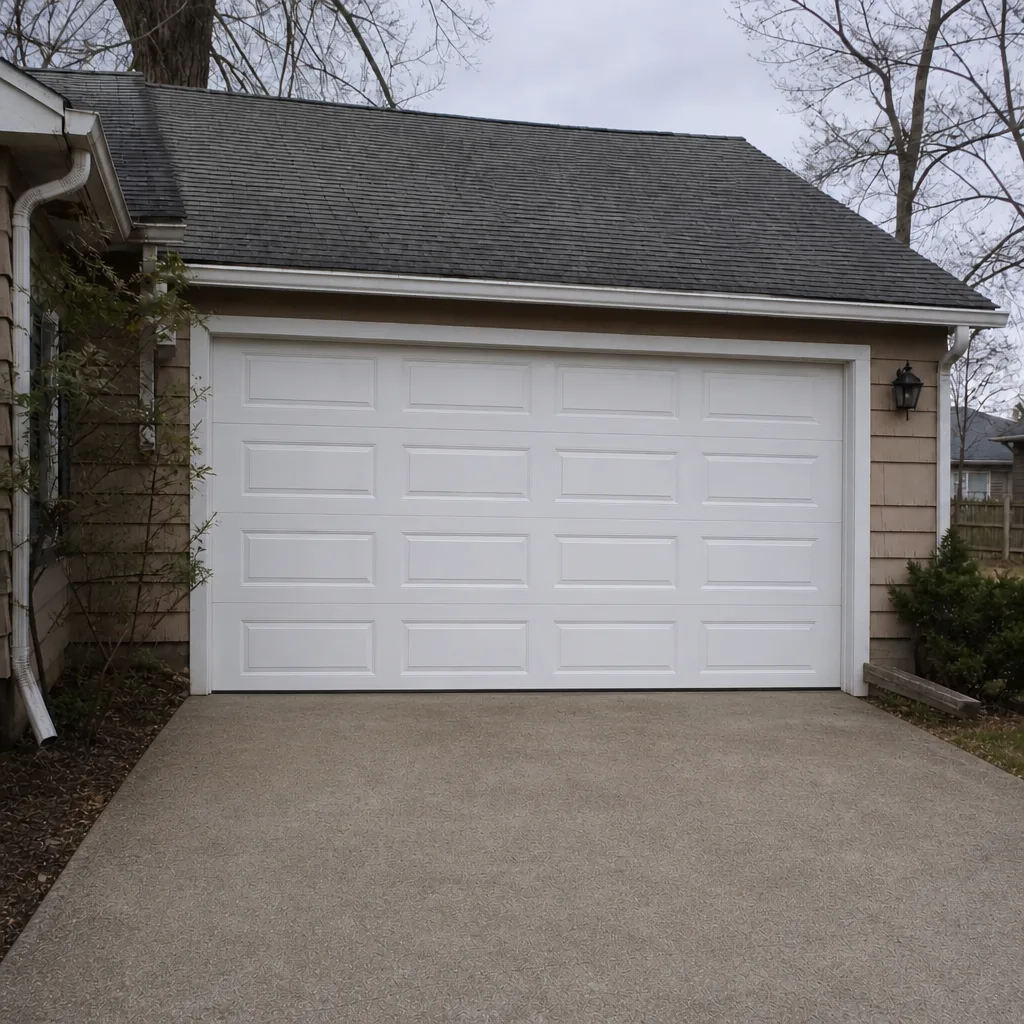 After
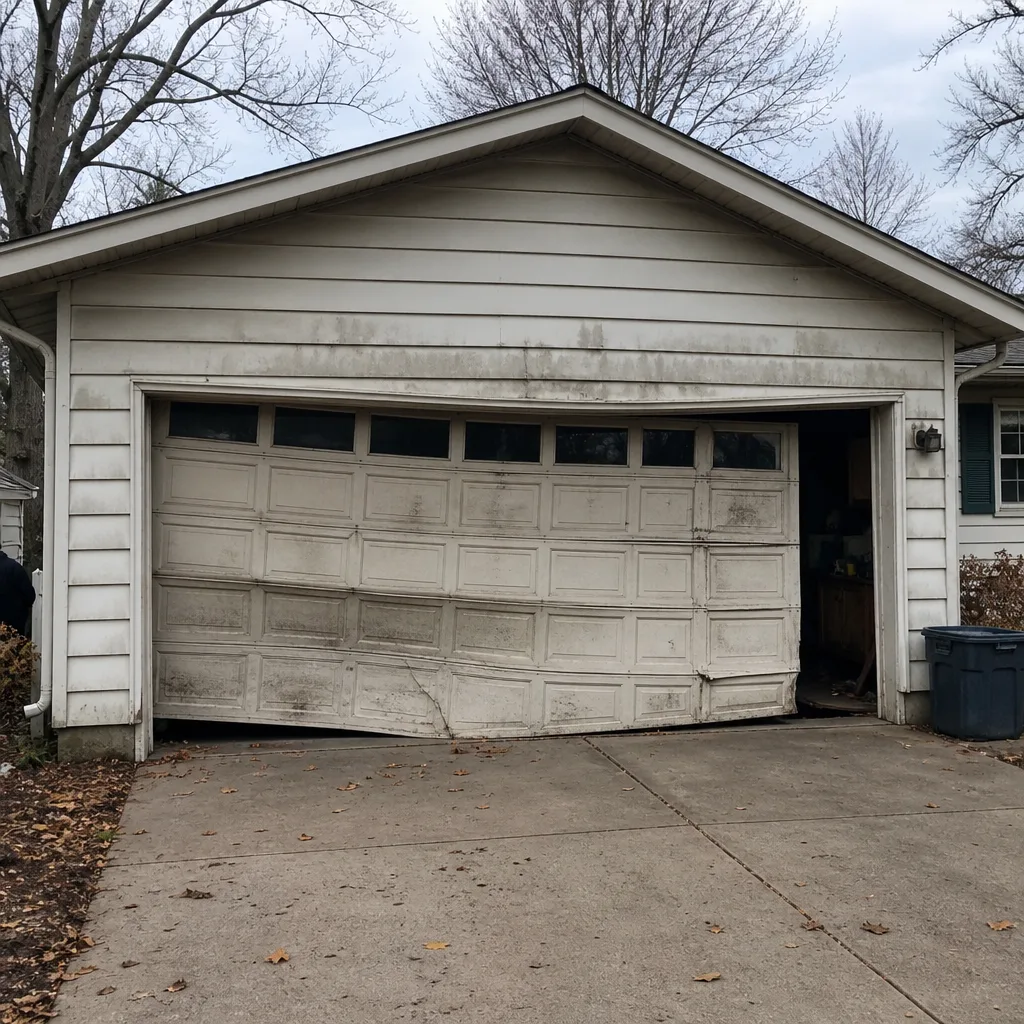 Before
 After
 Before
 After